
How to Set Up a Pre-Built Gaming PC
 By Theo LangUpdated
To set up a pre-built gaming PC, place the tower on your desk, plug the monitor into the graphics card, connect the keyboard, mouse and power, then switch it on and follow the Windows 11 setup screens. After setup, run Windows Update, install the graphics driver, and install your games. No parts need fitting: the PC arrives built, so setup is cables, a first boot and a few screens.
Place the PC and plug in the monitor
Set the tower on a flat, stable surface with space around it for air to move. Plug the monitor cable into the HDMI or DisplayPort port on the graphics card, which sits low on the back of the tower, and plug the other end into the monitor. If you have a second monitor, connect it to another port on the same card. Switch the monitor on and check that it shows the right input before you power up the PC.
Connect power, keyboard, mouse and network
Plug the power cable into the back of the PC and into a wall outlet, then plug the keyboard and mouse into USB ports on the back or front of the tower. For a wired connection, plug an Ethernet cable into the Ethernet port on the PC and into your router. If you use Wi-Fi instead, you can connect during Windows setup, so leave the network step until the PC asks for it.
First boot and Windows setup
Press the power button on the front of the tower and let the PC start. The first boot opens the Windows 11 setup screens, which ask for a language, a region and a network connection, then a Microsoft account or a local account. Work through each screen and let the PC restart when it asks. Do not switch the PC off during setup, even if a screen takes a while.
Update Windows and the graphics driver
Once you reach the desktop, open Settings and run Windows Update until it reports no more updates, restarting when it asks. Then install the graphics driver from the graphics maker's own download page or the PC maker's support page, following the steps there. Do this before you install games, so the display and games start with the maker's latest driver.
Install games and check their requirements
Install your game launcher and your games, then check the requirements the publisher lists for each game against the parts listed for your PC, such as memory, storage and graphics. If a game lists a higher requirement than your PC shows, lower the game's own graphics settings before you play. Keep the PC maker's support page in mind for driver updates, and contact the maker if a part stops working.
What you need
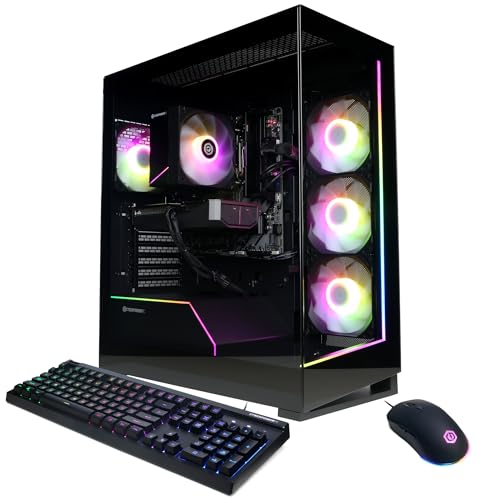
CyberPowerPC Gaming PC
A Windows 11 Home PC with 16GB DDR5 memory, 1TB PCIe 4.0 SSD storage, a GeForce RTX 5060 Ti, Wi-Fi 6 and USB-C ports.
View on Amazon
Alienware Aurora Gaming Desktop
A Windows 11 Home desktop with 32GB DDR5 memory, 1TB SSD storage, a GeForce RTX 5070, Wi-Fi 7 and 2.5Gb Ethernet.
View on AmazonAlienware Gaming Desktop
A Windows 11 Home desktop with 16GB DDR5 memory, 1TB SSD storage, a GeForce RTX 5060 Ti, Wi-Fi 7 and AlienFX lighting.
View on Amazon
MSI Codex Z2 Gaming Desktop
A Windows 11 Home desktop with 32GB DDR5 memory, 2TB SSD storage, a GeForce RTX 5070 and a USB Type-C port.
View on AmazonThese come from our ranked list Best Gaming PC, which compares them spec by spec.
FAQ
Do I need to install Windows on a pre-built gaming PC?
No. These PCs ship with Windows 11 Home installed, so the first boot goes straight to the setup screens. You only sign in, connect to a network and let the PC finish its first updates.
Should I plug the monitor into the graphics card?
Yes. Plug the monitor cable into the HDMI or DisplayPort port on the graphics card, low on the back of the tower, so the picture comes from the graphics card. The ports higher up on the back panel belong to the motherboard, so use the graphics card ports for your monitor.
Why is there no picture on the first boot?
Check that the monitor cable is plugged into the graphics card port and seated fully, that the monitor is on the right input, and that the PC power cable is seated. If the screen stays blank, shut the PC down, unplug it, and contact the maker.


